Thank you for purchasing the Halloween Apron KIT from
my Etsy shop! The following TUTORIAL is the way I make these aprons. The Skeleton Apron Panel is a complete project alone, but as part of this kit you will create an improved "finished" product with a professional edge and a happy wash-and-wear bonus! If you have a fabulous tip you would like to share please post a comment below. Thanks, and Happy Sewing!!!
Step 1: Pre-Wash your fabric on cold and tumble dry on low. Iron fabric.
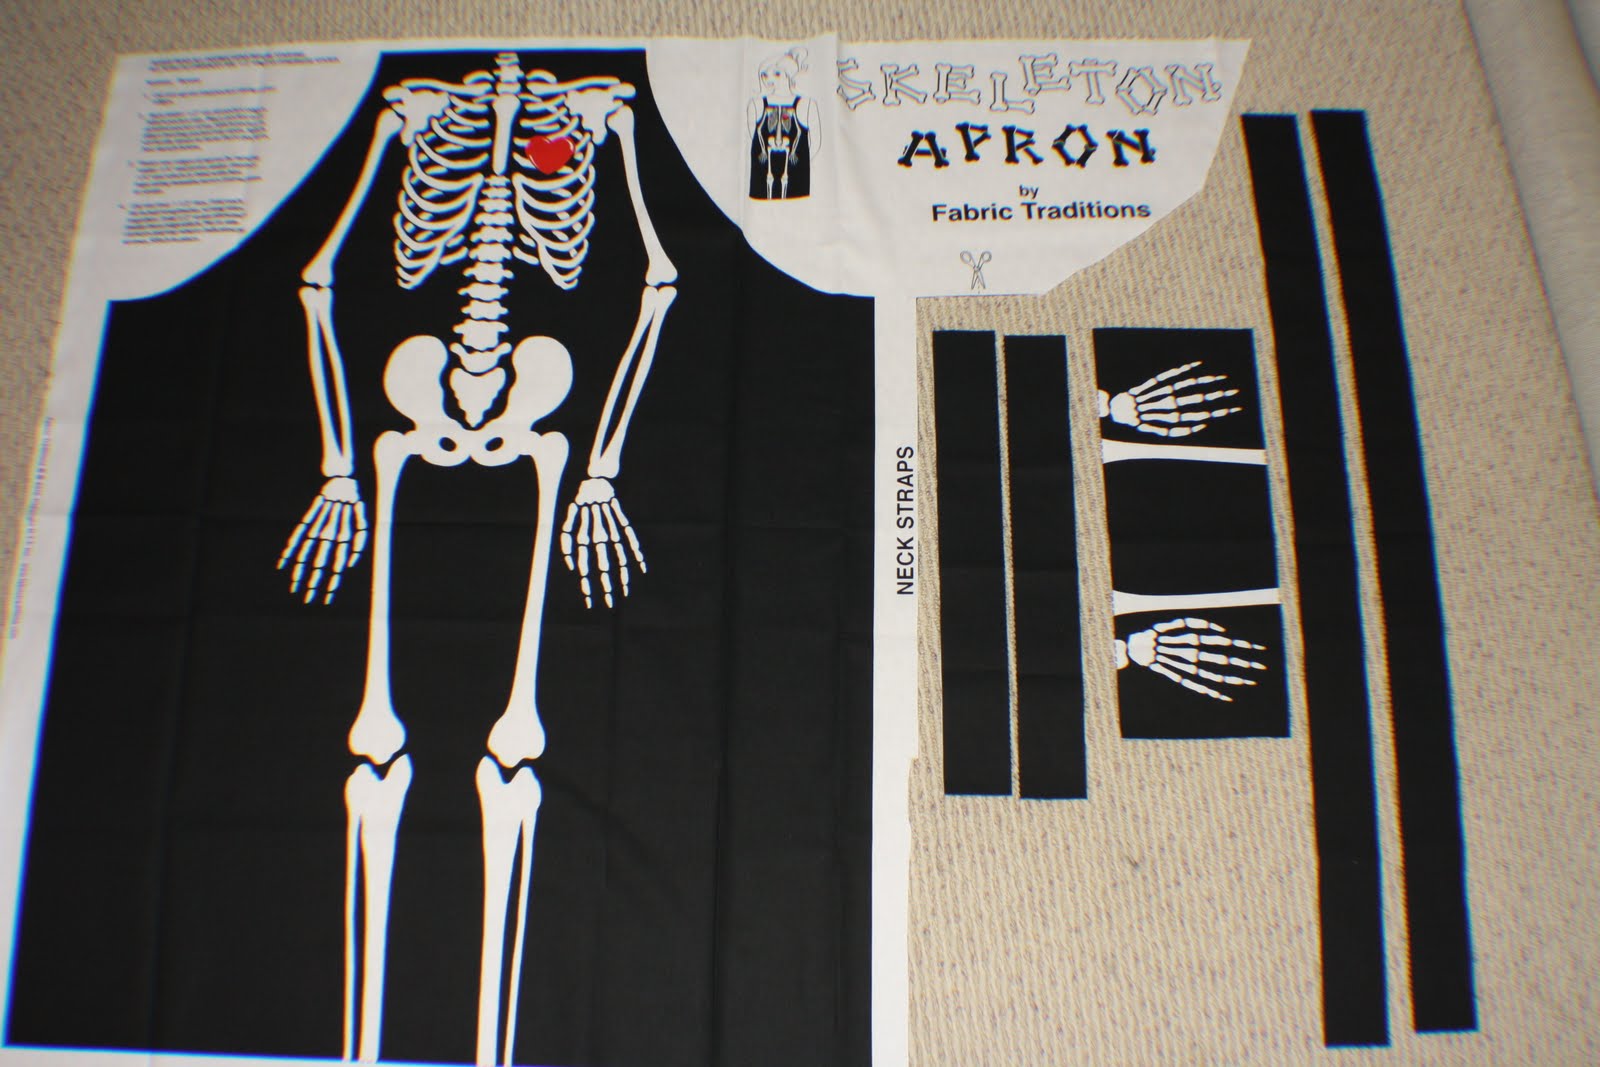
Step 2: Lay the Skeleton Apron Panel on a clean work surface, right-side up.
Step 3: Cut out the neck ties, pocket, and waist ties.
Step 4: Iron neck and waist ties - fold 1/4" and press, fold in half and press.
Step 5: Pocket - Fold long seam (at Skeleton wrist) 1/4" and press, then fold another 1/4" and press. Fold the three remaining sides over 1/4" and press.
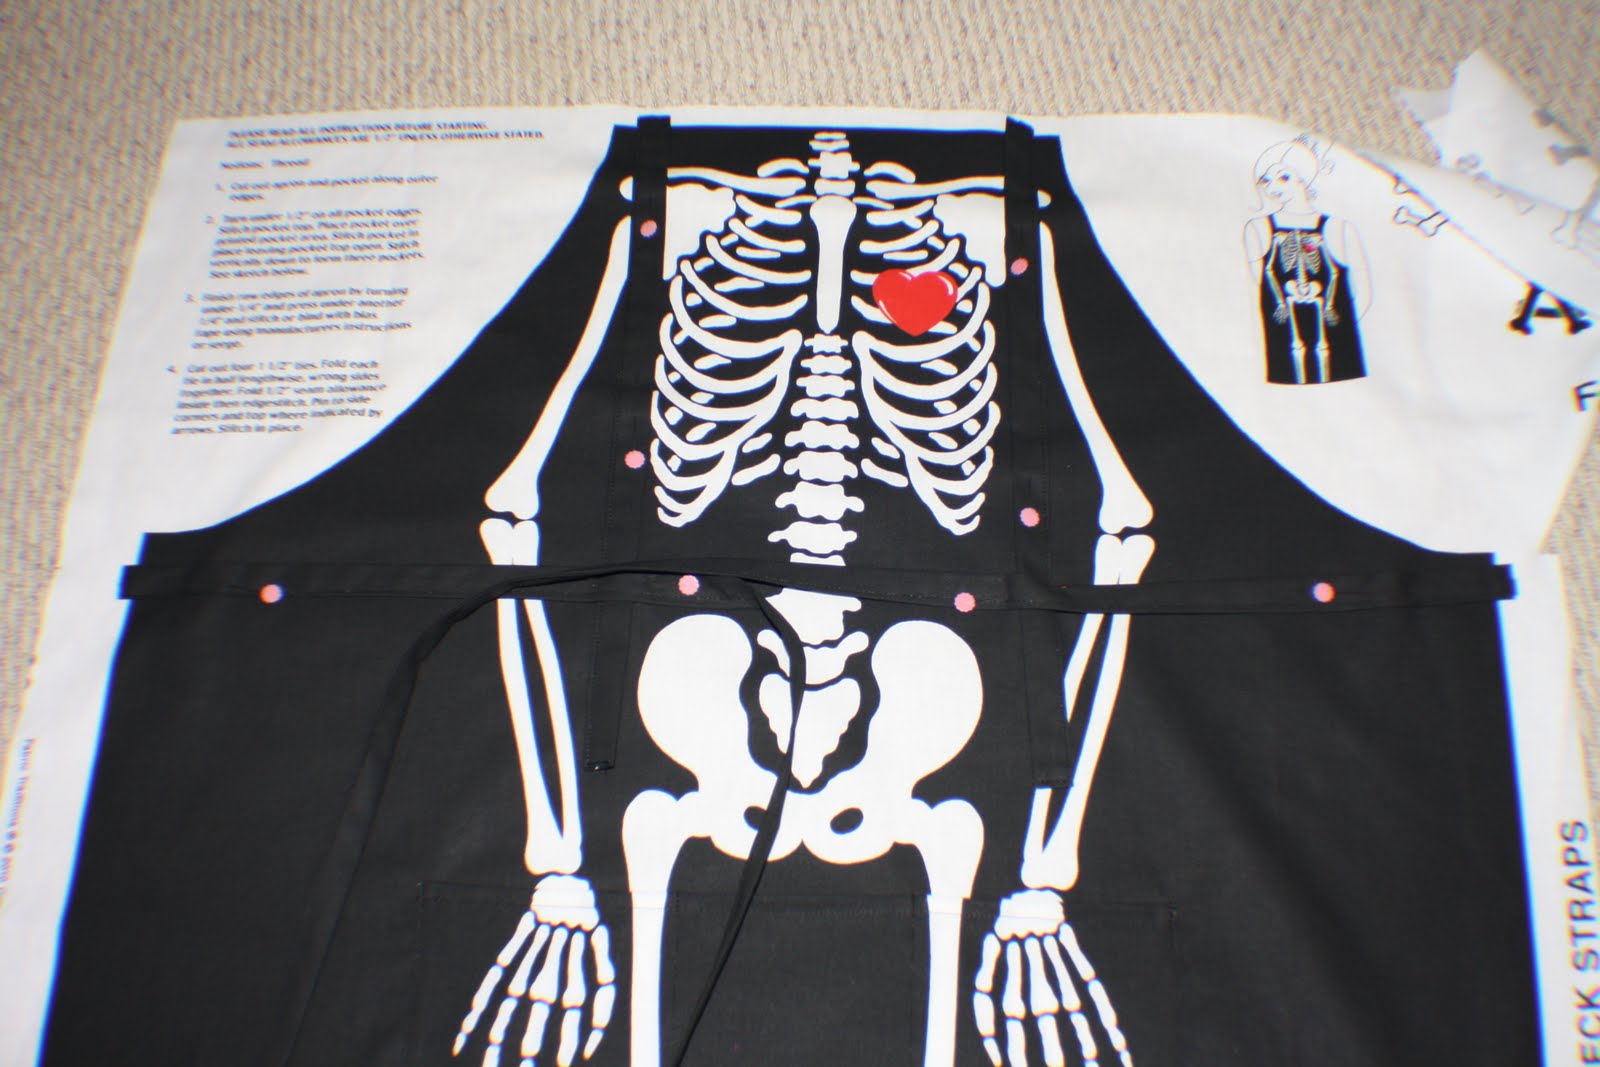
Step 6: Carefully place the pocket over the matching scene on the panel. Pin.
Step 7: Sew around three sides of the pocket (leave top open), then sew two seams, between the leg bones, to create a total of three pockets.
Step 8: Place the neck and waist ties in position, then pin. I pull the length of the ties into the middle of the apron panel and pin again to avoid any shifting and the possibility of sewing a loose end of a tie into a seam by mistake. Been there done that, just sayin'! ;-)
Step 9: Lay the backing fabric on a clean work surface, right-side up. Place the Skeleton Apron panel on top of the backing fabric, right-side down. Right-sides should be together. Pin, pin, pin!
Step 10: Use the white edge of the Skeleton Panel as your guide and sew a 1/4" seam around the entire apron, leaving a 4" opening to turn right-side out.
Step 11: Trim along the white edge.
TIP: At the 4" opening I cut a wider edge, a 1/2" edge, to make finishing easier. I prefer to leave my opening at the bottom so I cut the entire bottom edge 1/2" from the seam.
Step 12: Turn Skeleton Apron right-side out. Iron. Pin, pin, pin.
Step 13: Top stitch 1/4" from the edge around the entire apron. This top stitching step is very important - it reduces the need to iron after washing!!! I take my aprons out of the dryer when damp, smooth out the fabric, then let them air-dry. Without top stitching there is a LOT of shifting and ironing is absolutely necessary. Just because I know how to iron doesn't mean I want to! ;-)
TIP: I like to make two seams, one a 1/4" from the edge, and another one millimeter inside the edge. This second top stitching is not necessary, it is just a handmade bonus, and I like the look!
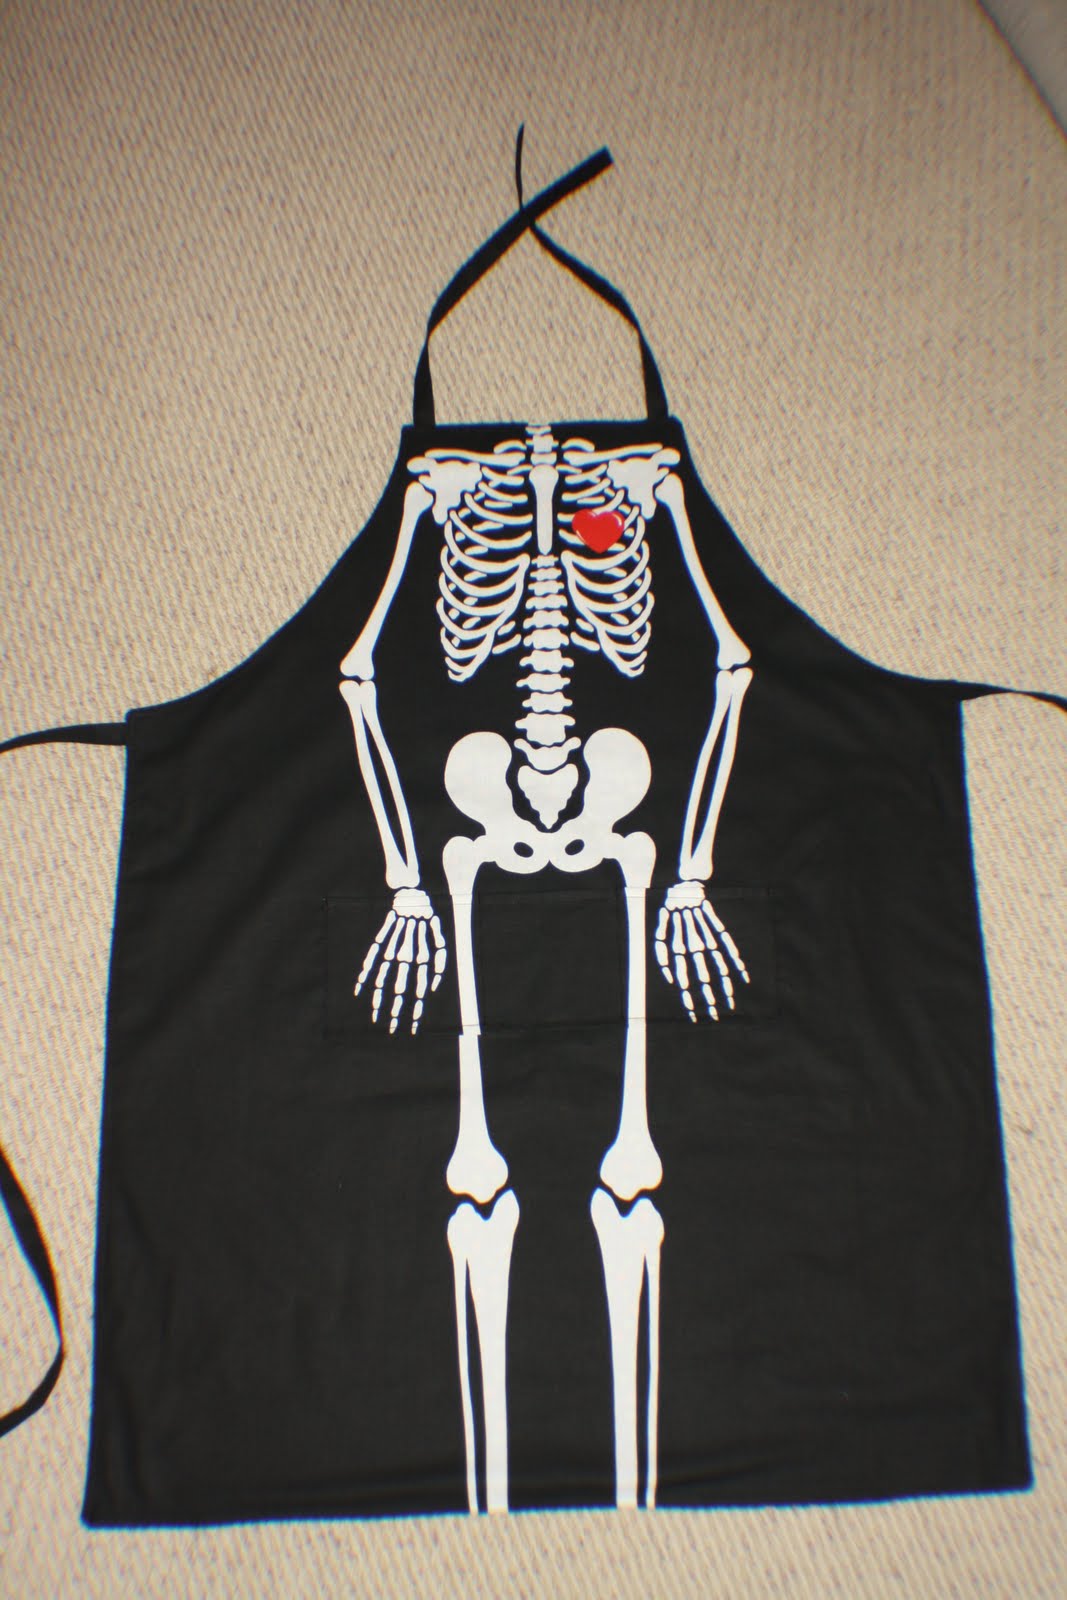
Voila - WELL DONE!
I hope you enjoyed this Skeleton Apron KIT! These aprons are a fun treat for ourselves, a fabulous gift for the special Halloween-Loving-Person in your life, a hostess gift, or a unique teacher gift! The manufacturer is completely out of the Skeleton Apron Panels and my supply is limited. Re-order today, when they are gone they are gone!
Happy Sewing!!!


Love the tutorial!! I can't wait to try making one this way.
ReplyDelete